Introduction
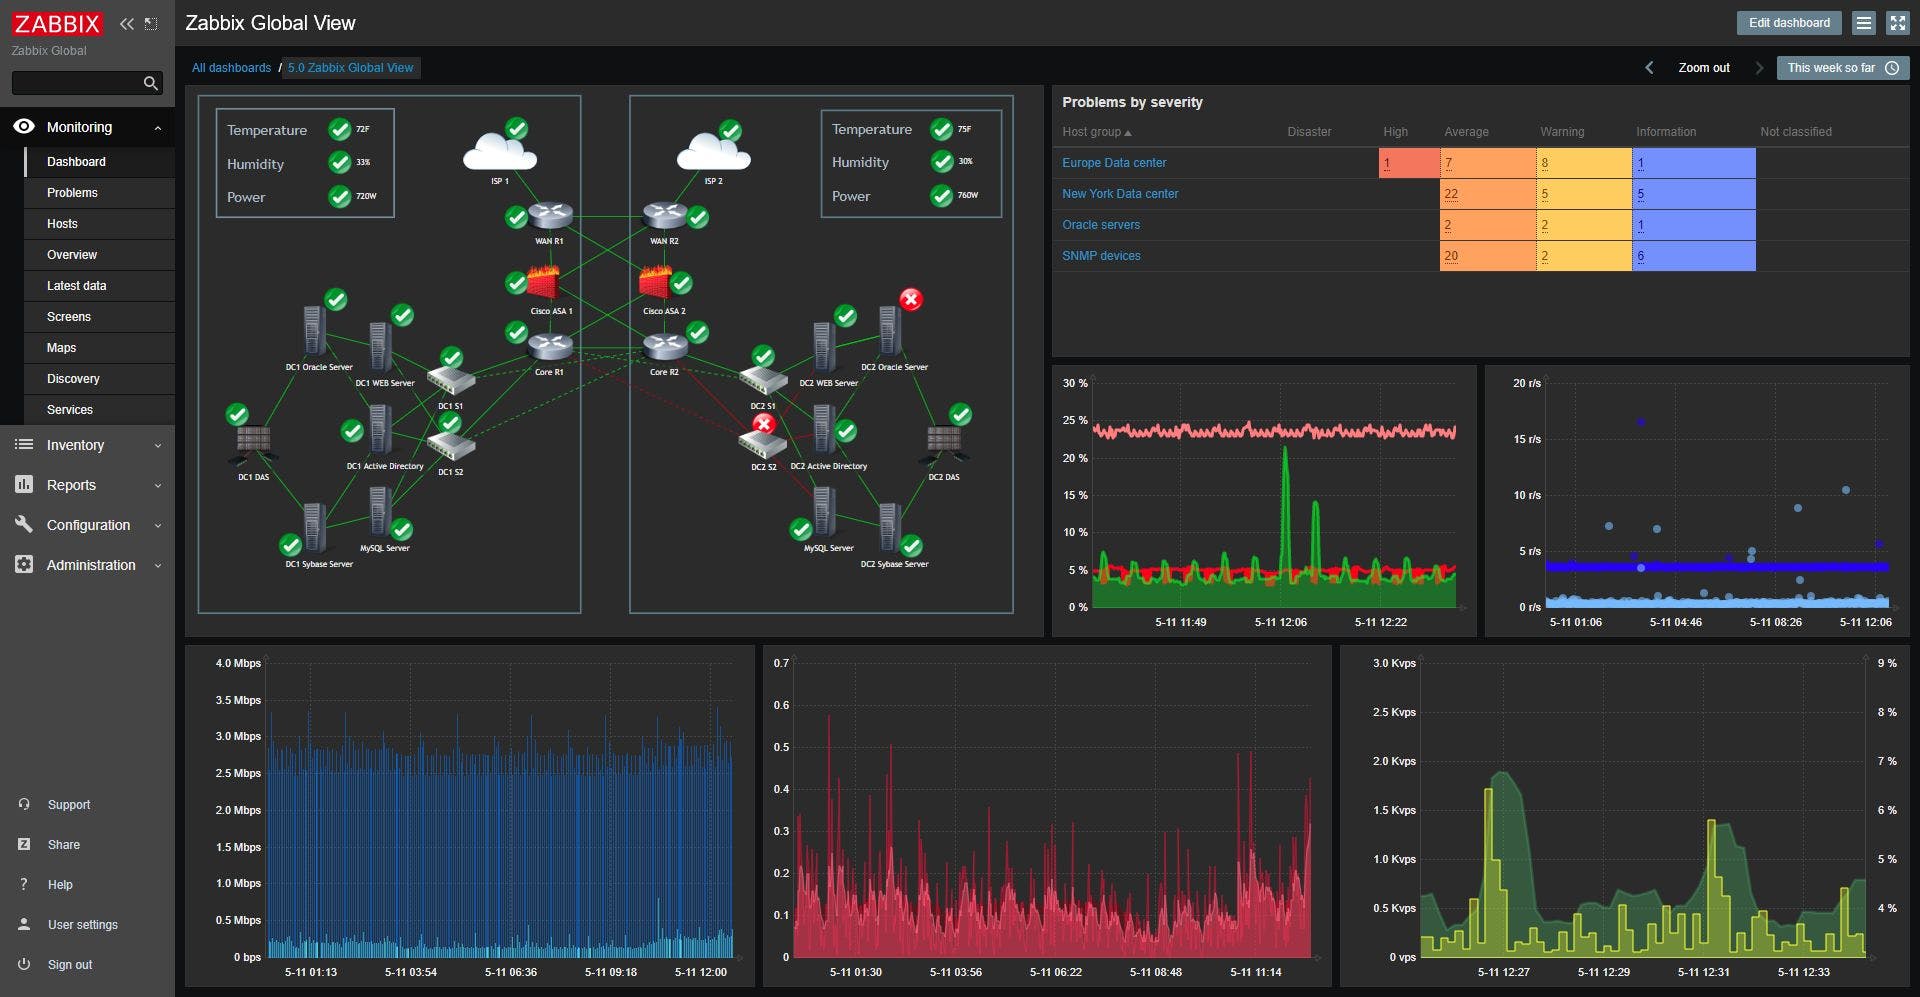
When the subject is monitoring, Zabbix is one of the first solutions that comes to mind. It is a Free and Open-Source solution that can be used everywhere. The current main release is version 5.0 LTS (long-term support). The main features are more integrations available, significant improvements in the security area, scalability and performance enhancement, more templates and plugins by the default.
What is Zabbix
Zabbix is one of the most famous solutions designed for real-time monitoring. It was created by Alexei Vladishev and currently is actively developed and supported by Zabbix SIA.
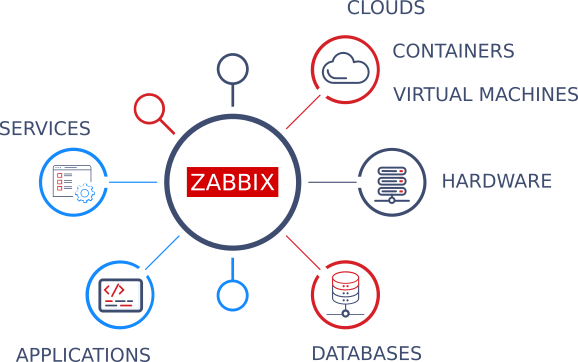
It is possible to collect metrics from devices, like servers, virtual machines and network devices. Dashboards can be constructed with a flexible alert system to simplify the decision-making. All Zabbix statistics, reports and configuration parameters, are found through a web-based front-end. This guarantees that the status of your network and the health of your servers can be reached from any place.
Getting Zabbix
As many other Open-Source software, the simple way to get Zabbix is by official RPM and DEB packages. In the download section you have an intuitive graphical way to choose version, operational system, database and web server.
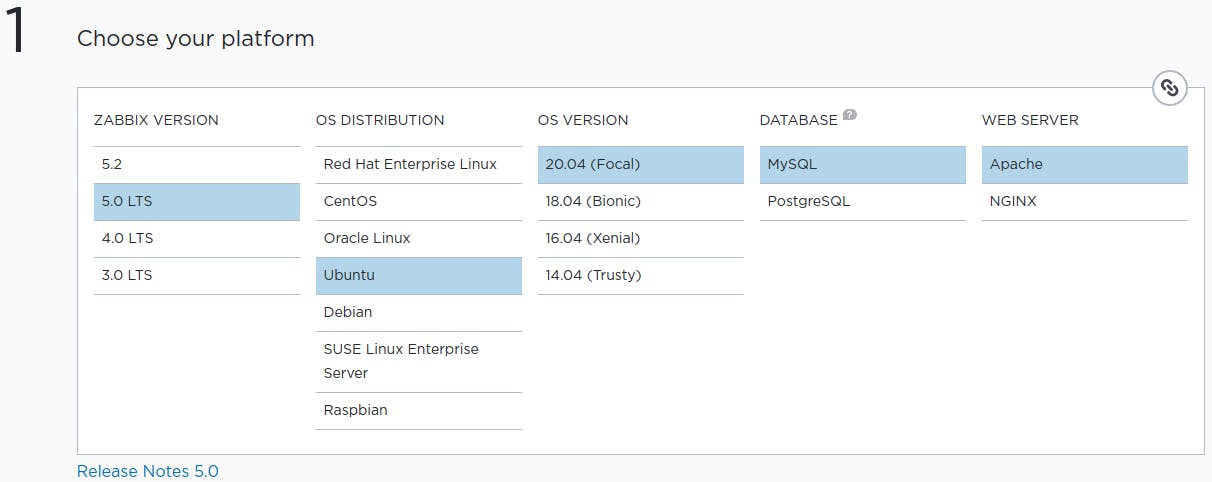
Below this selection section, is shown all the commands to use on the terminal to install the properly chosen version. To use as an example, let's try the new release with Ubuntu 20.04, MySQL and Apache.
- 1 - Install Zabbix repository
# wget https://repo.zabbix.com/zabbix/5.0/ubuntu/pool/main/z/zabbix-release/zabbix-release_5.0-1+focal_all.deb
# dpkg -i zabbix-release_5.0-1+focal_all.deb
# apt update
- 2 - Install Zabbix server, front-end, agent
# apt install zabbix-server-mysql zabbix-frontend-php zabbix-apache-conf zabbix-agent
- 3 - Create initial database
Run the following on your database host.
# mysql -uroot -p
password
mysql> create database zabbix character set utf8 collate utf8_bin;
mysql> create user zabbix@localhost identified by 'password';
mysql> grant all privileges on zabbix.* to zabbix@localhost;
mysql> quit;
On Zabbix server host import initial schema and data. You will be prompted to enter your newly created password.
# zcat /usr/share/doc/zabbix-server-mysql*/create.sql.gz | mysql -uzabbix -p zabbix
- 4 - Configure the database for Zabbix server
Edit file /etc/zabbix/zabbix_server.conf
DBPassword=password
- 5 - Configure PHP for Zabbix front-end
Edit file /etc/zabbix/apache.conf, uncomment and set the right timezone for you.
# php_value date.timezone America/Sao_Paulo
- 6 - Start Zabbix server and agent processes
Start Zabbix server and agent processes and make it start at system boot.
# systemctl restart zabbix-server zabbix-agent apache2
# systemctl enable zabbix-server zabbix-agent apache2
- 7 - Configure Zabbix front-end
By this point all the process to finish the installation is through a web browser.
Connect to your newly installed Zabbix front-end: server_ip_or_name/zabbix With this URL you should see the welcome screen:
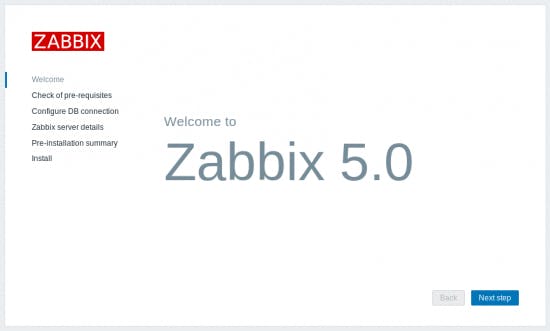
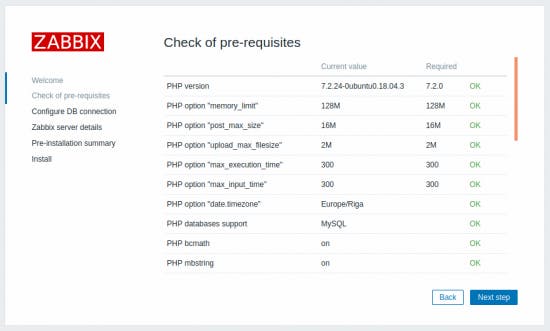
Click on the Next step button to advance and verify the prerequisites of your installation.
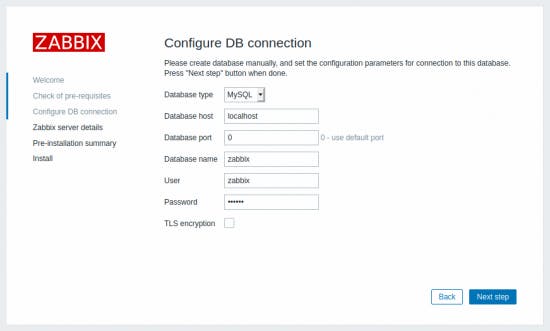
On this next step enter the details for connecting to the database. Zabbix database must already be created.
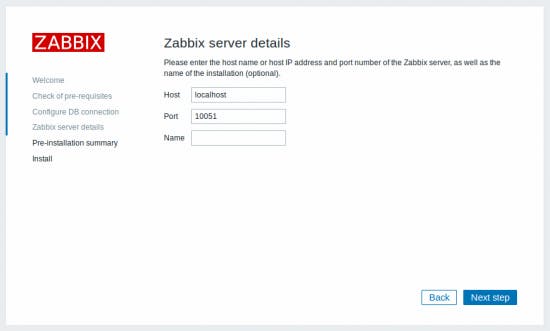
Enter Zabbix server details.
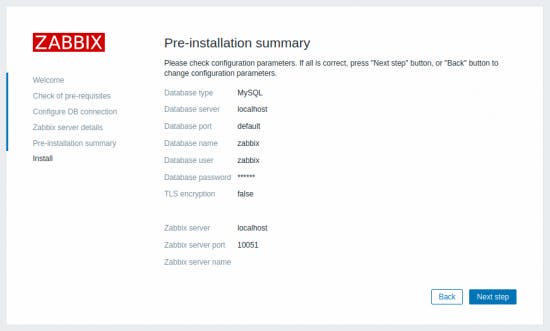
Review a summary of settings.
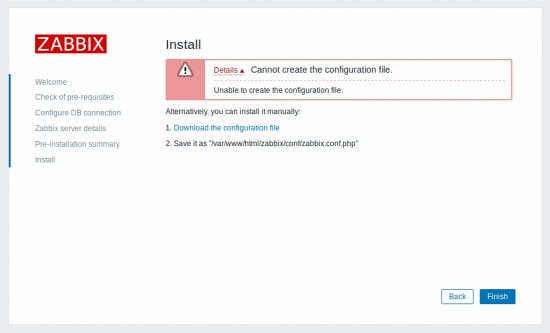
Download the configuration file and place it under conf/ in the web server HTML documents subdirectory where you copied Zabbix PHP files to.
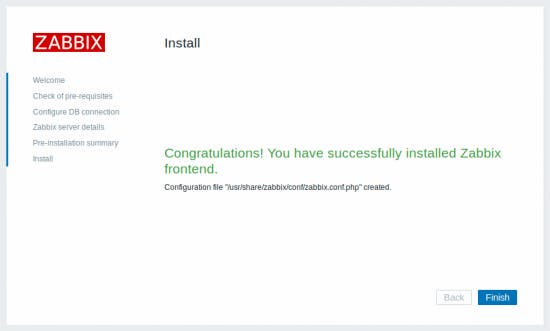
Finish the installation.
OTHER OPTIONS
Alternatively, you have some more great options to put Zabbix to work:
- Install from the containers;
- Download the virtual appliance;
- Cloud images
- Compile from source code;
Zabbix Requirements
For small solutions it's not necessary to reserve many resources, only 128 MB of memory and 256 MB on disk are enough. Obviously, this depends on the amount of host and parameters that are being monitored. If you're planning to keep a long history, this number on disk can reach Gigabytes. The same logic applies to the CPU load, it depends on the number of hosts. Zabbix documentation gives an example to illustrate the system based on hosts.
| Size | Platform | CPU/Memory | Database | Monitored hosts |
| Small | CentOS | Virtual Appliance | MySQL InnoDB | 100 |
| Medium | CentOS | 2 CPU cores/2 GB | MySQL InnoDB | 500 |
| Large | Red Hat Enterprise Linux | 4 CPU cores/8 GB | RAID10 MySQL InnoDB or PostgreSQL | >1000 |
| Very large | Red Hat Enterprise Linux | 8 CPU cores/16 GB | Fast RAID10 MySQL InnoDB or PostgreSQL | >10000 |
Supported Operating System
It's possible to use a variety of systems to install Zabbix. Not all systems support the complete resource solution, as shown in the next table:
| Platform | Zabbix Server | Zabbix Proxy | Zabbix agent |
| Linux | ok | ok | ok |
| IBM AIX | ok | ok | ok |
| IBM Power8 | ok | ok | ok |
| FreeBSD | ok | ok | ok |
| NetBSD | ok | ok | ok |
| OpenBSD | ok | ok | ok |
| HP-UX | ok | ok | ok |
| Mac OS X | ok | ok | ok |
| Solaris | ok | ok | ok |
| Windows | x | x | ok |
Conclusion
If you work as a sysadmin, Zabbix is a must to on your top monitoring tools. Even for beginner, It's easy to take the first steps, learn the terminology and start to supervise any kind of IT infrastructure, service, application and resource.
